16 October 2026
When to replace coffee grinder burrs (and when to just realign them)
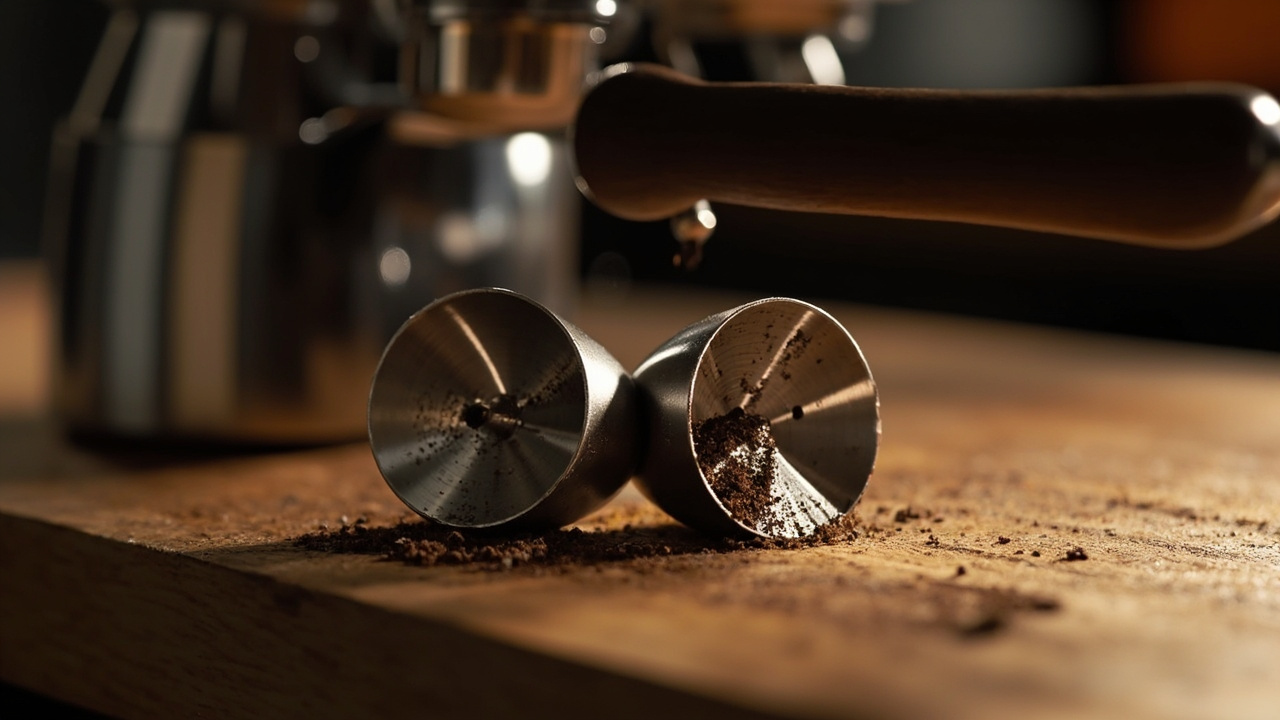
Most people blame the grinder when the cup goes flat, but in our workshop in Tallinn we regularly see machines come back for service where the burrs are actually fine — the real problem is alignment, scale build-up or a clogged chute. This post is a short checklist for telling those three apart from a genuinely worn burr set, so you spend money on the right fix. Knowing when to replace coffee grinder burrs (and, just as often, when you do not need to) is the difference between a small parts-and-spares job and a grinder that quietly keeps pulling shots for another few years.
Table of contents
- Key takeaways
- What burrs actually do in an electric or hand grinder
- What are the signs your burrs are dull?
- How long do burrs actually last in a home grinder?
- Realign vs replace: how to tell which one you need
- When a burr set is worth replacing yourself, and when to send it in
- Burrs, gaskets and the small parts Northbrew keeps in stock
- Sources
Key takeaways
- Three out of the four common "the grinder has gone off" symptoms — slow grind, fine grounds and channeling, espresso that tastes flat — are usually alignment or cleaning, not wear.
- Steel burrs in a home grinder typically last several hundred kilograms of coffee; the figure that matters more for your machine is "kilograms through the burrs", not months on the shelf.
- A careful realignment on a conical-burr grinder will usually fix channeling before a replacement set will, and it is a job most people can do in fifteen minutes.
- Replacing burrs at home is worth doing on grinders with a documented burr geometry and a stock part number; everything else is cheaper to send in.
- Consumable wear parts — burrs, gaskets and the small flat parts below — are never covered by warranty, so keep that in mind when you weigh a DIY swap against a bench repair.
What burrs actually do in an electric or hand grinder
Burrs are two rings of hardened steel that shear coffee into particles of a controlled shape, and almost every flavour problem people blame on a grinder — sour shots, weak brews, gritty mouthfeel — starts with how those two faces meet. The gap between them sets the grind size, but the geometry of the faces (the angle, the number of rows of teeth, the way they taper from outer to inner edge) sets the particle distribution. Two grinders set to the same nominal size can produce noticeably different cups because their burr geometries differ, which is the long answer to why people care about conical vs flat burr grinders when they upgrade.
A few points worth pinning down before you decide anything is worn out:
- Burrs do not "sharpen" each other in use. Hardened steel on hardened steel wears by abrasion, so a sharp edge gets duller with every kilogram of coffee, never the other way round.
- Flat burrs and conical burrs wear in slightly different patterns. Flat sets tend to wear evenly across the face; conical sets often lose edge first at the outer or inner ring depending on the design, which is why a conical can produce fine particles and coarse ones at the same setting late in its life.
- Hand grinders use the same steel and the same geometry as electric ones — only the drive differs. Lifespan rules apply the same way whether you turn the handle or press a button, and the choice between hand grinder vs electric grinder is mostly about convenience and dose consistency, not burr durability.
The reason this matters for diagnosing your grinder is that "the burrs are dull" and "the burrs are misaligned" produce overlapping symptoms, but only one of them is solved by spending money on a new set.
What are the signs your burrs are dull?
Worn burrs announce themselves in three ways that line up with what a sharp eye tests for: the grind gets slow and hot at the same setting, the cup loses sweetness long before it loses body, and you start finding a mix of boulders and fines no matter what number you dial in. None of those on its own means the burrs are shot.
The clearest home test is particle shape, not grind time. Pull a small sample of grounds onto a dark piece of card, shake it flat, and look at the particles under a phone torch:
- Sharp, flaky particles with clean edges and a few fine "dust" specks — your burrs are healthy.
- Rounded, pebble-shaped particles mixed with fines — the cutting edges have lost their geometry, and the burrs are dull.
- Mostly powder at settings that used to give you a sandy grind — one of the burr faces has chipped, or you are seeing burrs from a different grinder that someone has installed in error.
How long do the symptoms take to appear?
A real wear problem creeps in over months, not days. If your grinder was pulling espresso last week and is pulling sour, weak shots today, look at cleaning, alignment and the dose before you look at the burrs.
Is "flat taste" always the burrs?
Flat taste on its own is rarely the burrs. Flat taste with a slow grind, fine dust in the catcher, and a noisy motor is much more likely to be the burrs. The combination is what matters.
How long do burrs actually last in a home grinder?
Steel burrs in a home grinder typically last between 500 and 1,000 kg of coffee, which for a single-cup household works out to several years of regular use depending on how much you drink and how dark you roast. Commercial grinders see a kilo a day and replace on a schedule, not a symptom; home grinders are almost always symptom-driven.
The number that matters is kilograms through the burrs, not years on the shelf. A grinder that has lived in one cupboard since 2022 and has seen 60 kg of coffee has barely begun to wear. A grinder that was used twice a day for five years in a small office is overdue, even though it is the same age on paper.
A rough guide, by grinder type:
- Hand grinder with steel burrs, single dose a day: many years of regular use before the edge starts to round.
- Entry electric grinder, two cups a day: several years of regular use.
- Prosumer flat-burr grinder, three or more cups a day: a shorter lifespan than entry-level machines, with edge wear showing first on the outer ring.
Two warnings that come from workshop benches, not from spec sheets:
- Dark-roasted beans wear burrs faster than light ones. The oils are more abrasive, and the roasts are more brittle through the breaker.
- Foreign objects kill burrs in seconds, and they should not be counted as wear. A single pebble in the hopper scratches both faces and is not a "lifespan" question at all; that is a refurbished coffee grinder worth it decision if the scratch is bad enough.
Realign vs replace: how to tell which one you need
Most grinders that come back for service with "the burrs are gone" actually need alignment, cleaning or a new gasket, not a new burr set, and the distinction is one a careful test is almost always worth doing before you order parts.
The first three checks cost nothing but ten minutes:
- Clean the burrs and the chute. Old grounds packed into the throat change the effective gap and the airflow, and a single packed chute can mimic dull burrs perfectly. Pull the top, brush out the burr chamber, and re-test the same brew at the same setting.
- Check the burr carrier for play. With the grinder empty and the power off, push the rotating burr sideways against the stationary one. Any visible rock means the carrier has worn, the alignment has drifted, and that — not the burrs — is what is causing your fines and channeling.
- Inspect the drive coupling. A chipped drive dog on a hand grinder, or a slipping collar on an electric one, produces an inconsistent grind at the same dial setting. It feels like dull burrs but is fixed in fifteen minutes with an inexpensive replacement part.
If those three pass, the burrs themselves are worth a closer look. A burr alignment job on a conical-burr grinder — re-tensioning the upper carrier, dropping the lower burr back to a 5-cent shim — is genuinely worth doing before a replacement, because a misaligned conical produces fines and boulders at the same setting in exactly the way a worn one does, and a new set installed into a misaligned carrier will behave the same as the old one.
When does alignment stop being the answer?
If the burr face itself is visibly rounded, chipped or polished smooth under a torch, alignment will not bring the edge back. At that point, you are looking at replacing the burrs, not re-tensioning them.
When a burr set is worth replacing yourself, and when to send it in
The decision is less about skill than about documentation and access. A burr set that is held in by a screw, has a published part number, and ships with a paper or PDF instruction sheet is a reasonable home job; a burr set that requires a special tool, a shim stack, or a specific torque figure is usually cheaper to send in.
A short rule of thumb:
- Worth doing at home if the burrs lift out without a press, the carrier seats against a shoulder, and the alignment is set by feel. Most modern consumer conical-burr grinders fall into this group.
- Worth sending in if the carrier has to be pressed out, the alignment requires a 0.1 mm shim, or the burr seats against a gasket that has to be replaced at the same time. Many flat-burr prosumer grinders fall into this group.
- Worth doing yourself only if you can find the exact burr part and the exact gasket for the exact build year of your grinder. Grinders that have been through one or two silent revisions sometimes take a different burr now than the one you read about online, and the wrong burr will sit proud and channel without obvious play.
A practical warning: keep a record of the part number and the build date before you order. Most manufacturers list "compatible with" by build year, and the buying used coffee grinder guide goes into how to read a serial number for the same reason.
A grinder that is out of warranty, has the documented burr part available, and a burr geometry that matches the original is the kind of job the workshop handles on its own bench, with the rest of the machine covered by the two-year warranty afterwards and repairs typically turned around in a handful of working days, which is usually cheaper than buying the special tool you don't already have for a one-off job.
Burrs, gaskets and the small parts Northbrew keeps in stock
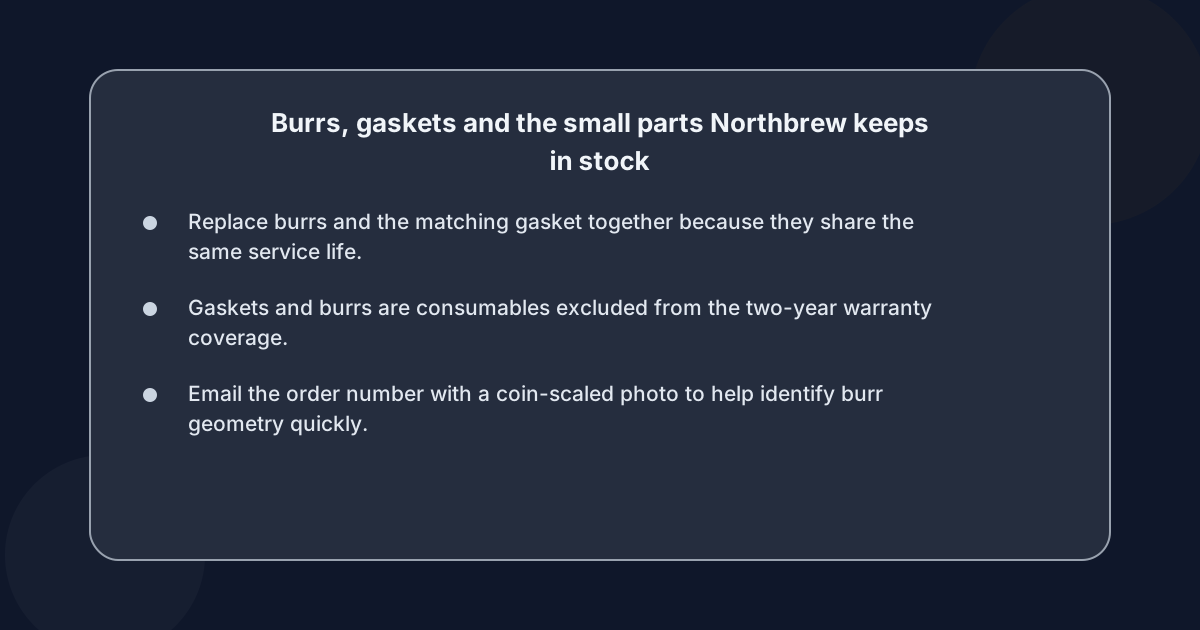 The reason "do I have the part on the shelf" matters so much is that almost every burr job is also a gasket job. Pull the top burr, and the rubber gasket under it is almost always the same age as the burrs; replace one, replace the other. The catch is that gaskets are consumables and are not covered under a two-year parts-and-labour warranty, so it is worth knowing the price and the stock before you start, not after.
The parts to keep on hand if you own a grinder and brew most days:
- The correct burr set for your build year, in steel — not ceramic, unless the original was ceramic.
- The matching upper and lower gasket, and the chute gasket if the grinder has a separate throat seal.
- A small brush and a dry cloth, and a can of compressed air for the chute.
A few practical notes from the workshop bench:
- Burrs, gaskets and filters are consumables, and consumables are never warranty — that is standard across the industry and worth keeping in mind when you weigh a DIY swap against a bench repair. Two-year warranty covers everything else.
- Burr sets for the grinders on this site are stocked alongside filters, baskets and gaskets, and a part that fits the machine on the shelf is what ships, and a part that does not get listed usually lives in the workshop drawer rather than the catalogue.
- If a part is not listed but the machine is on the shelf, the workshop usually has the part in a drawer. The fastest path is to email the order number and a photograph of the burr with a coin beside it for scale; that identifies the geometry in one round of email rather than three.
A grinder that has been serviced for burrs is also a grinder that is worth keeping — the rest of the machine has at least two years of warranty on parts and labour waiting for it, and a bench that does the work in-house is cheaper than a distributor who does not.